loading...

Hoagie Roll Recipe (Big and Soft Sub Buns!)
Hoagie Roll Recipe (Big and Soft Sub Buns!)

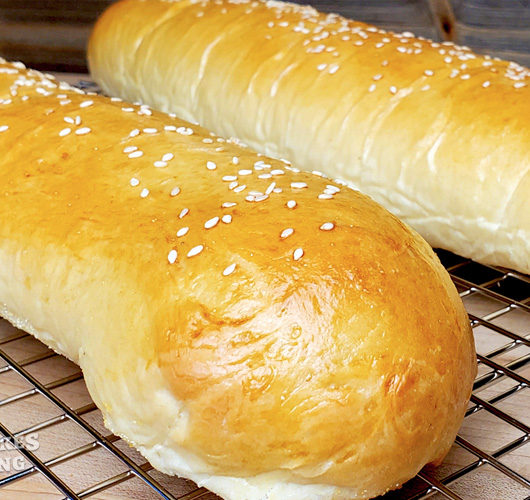
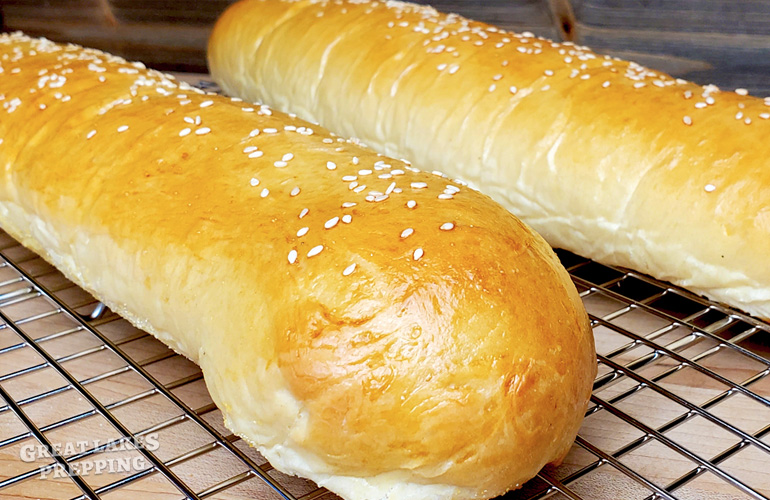
Today in the Great Lakes Kitchen we’re making some huge, amazing sandwich buns. It drives me crazy how the hoagie rolls at the grocery store are about 6 inches long (not to mention dry and crumbly). But when I buy a giant hoagie from a deli or sub shop, the buns are soft and pliable and a bit chewy. They’re durable enough to hold all the sandwich ingredients, but still soft and pliable.

So for a couple years I’ve been working to make large, restaurant-quality sub buns at home, and now I’m sharing the results with you. It’s hoagie time!

Hoagie Roll Recipe (Big and Soft Buns!)

4 from 103 votes
Recipe by Great Lakes Course: BreadCuisine: American, ItalianDifficulty: Intermediate
Servings

4

servings
Prep time

4

hours 
Cooking time

20

minutes
Total time

4

hours 

20

minutes

Ingredients

  • 6 grams yeast granules (active dry or instant)

  • 265 grams milk (2% works well)

  • 10 grams diastatic malt powder

  • 10 grams white sugar (or honey, if you prefer)

  • 20 grams olive oil

  • 8 grams salt

  • 400 grams bread flour

Directions

  • Heat milk (on stove-top or in microwave) until it is between 105 and 110 degrees Fahrenheit. Gently stir yeast and diastatic yeast into milk. Let sit for 10 minutes, until there is a good foam on top. If there is no foam, your yeast is probably too old and has not activated.
  • In a large bowl, combine flour, salt, sugar, and olive oil. Pour in the yeast/milk mixture and mix with a fork until everything is well incorporated and clumping together.
  • Knead. You can do 10 minutes in a stand mixer with dough hook, and then 10-15 minutes by hand. Or if you do not have a stand mixer, knead for 20 minutes by hand. Under-kneading will result in a flatter, denser bun.
  • Form kneaded dough into a ball and place in a bowl. Cover with plastic wrap and allow to rise for 1.5 hours. A turned-off oven is a good, draft-free place to put your bowl while the dough rises.
  • Remove dough from bowl and punch down until air has been pressed out. Divide dough into equal pieces (2 halves for very large buns, 3 pieces for medium-size, or 4 pieces for small buns). Flatten and stretch dough until it becomes a thin rectangle, longer than it is wide. Tightly roll the dough along the longer side, and then pinch the seam to ensure a good seal. You can also tuck the ends over to make cleaner, rounder ends in your finished product. Gently roll the dough on the counter, moving your hands from the middle and outward, to evenly shape the buns and make them a bit longer.
  • Use parchment paper or cornmeal on a baking sheet (to make a non-stick surface) and then place down your shaped dough, seam-side down. Then mist the shaped dough with a small amount of water from a spray bottle. Loosely cover dough with plastic wrap, and allow another 1.5 hours to rise.
  • Discard plastic wrap. Using a razor or very sharp knife, cut a very shallow slit along the length of each bun at a 45-degree angle (not quite on top, not quite on the side, but in-between). Brush the buns with an egg wash (made from 1 egg and a teaspoon of water, scrambled). Finally, sprinkle sesame seeds, herbs, or other optional toppings on top.
  • Preheat oven to 375 degrees Fahrenheit. Place an oven-safe pan on the lower rack and throw in a handful of ice cubes. Then place buns on upper rack. Bake for 10 minutes, and then turn the baking sheet around. Bake for another 10 minutes.
  • Remove from oven. When cool enough to handle, place buns on a wire rack to finish cooling. Once completely cool, store in an airtight bag or container.

Recipe Video